
Cold weather can bring more than just chilly temperatures — it can freeze your home’s plumbing and, in the worst cases, lead to burst pipes that cause flooding, mold, and costly water damage. Knowing how to safely identify, thaw, and mitigate damage from frozen or burst pipes can save you thousands in repairs and protect your home through winter weather. In this guide, we’ll walk through common causes, safe thawing techniques, what to do if a pipe has burst, and smart damage‑control steps every homeowner should follow.
Pipes freeze when interior temperatures fall below 32°F (0°C) — especially if pipes are uninsulated or located along exterior walls, attics, crawl spaces, or garages. As water inside the pipe freezes, it expands, creating pressure that can crack or rupture the pipe even before you notice obvious symptoms.
When pipes crack or burst after freezing, water can leak or gush into walls, floors, and ceilings, leading to structural damage, mold, and electrical hazards if not handled safely.
Before a pipe bursts or fully freezes, you might notice:
If you spot these signs early, you have a chance to prevent a burst with safe thawing and precautionary steps.
If you suspect a pipe has frozen (but not burst), you can thaw it safely without making the problem worse.
Before you begin thawing, turn on the faucet served by the pipe — even if only a trickle comes out. This helps relieve pressure and lets melting water escape.
Use safe heat sources to gradually warm the frozen section of pipe:
Start heating near the faucet end and work backward toward the frozen area. Gentle, controlled warmth prevents sudden expansion that could rupture the pipe.
Do not use open flames, torches, propane heaters, or boiling water. These methods can damage the pipe, cause it to burst, or present a fire hazard.
Keep the faucet open as you warm the pipe — that flowing water helps melt ice and reduces pressure buildup inside.
Never leave heating devices unattended. If you see water flowing again, but also suspect cracking or wet spots, proceed to damage‑control steps below.
Even the best preventive and thawing efforts can still result in a burst pipe. Here’s how to control the situation safely:
Immediately turn off the main water supply to prevent further flooding. The main shut‑off valve is usually located near where the water line enters your home.
If water is leaking near electrical outlets, appliances, or panels, turn off the main electrical power to that area — but only if it is safe to do so. Otherwise, call a qualified electrician.
Open all faucets and drains to help relieve pressure and allow the remaining water to exit your system. This also helps reduce further seepage into building materials.
Use towels, mops, or a wet/dry vacuum (if safe) to remove as much water as possible. The quicker you remove standing water, the lower your risk of mold and material damage.
Even if the immediate emergency is contained, a burst pipe requires professional repair. A licensed plumber can locate exactly where the line has split, isolate the damaged section, and replace it properly.
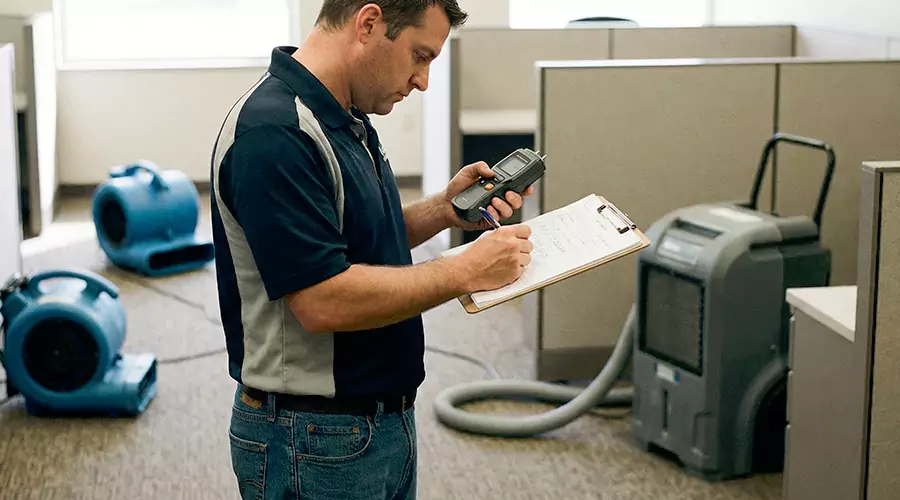
Once the crisis is controlled, report the damage to your home insurance provider. Many policies cover water damage from burst pipes — contacting a 24 7 Restoration service can help document what happened and the steps you took, making your claim process smoother.
After immediate safety steps, take these actions to minimize long‑term issues:
The best strategy is preventing freezes before they happen. These tips help keep pipes protected through cold weather:
When applying heat or using electrical devices:
Dealing with frozen or burst pipes is stressful, but a calm, step‑by‑step approach keeps you and your home safe. Recognize early warning signs, use safe thawing methods, know how to shut off your water and electricity, and call professionals when needed. After the immediate crisis, thorough drying and documentation help reduce long‑term damage and support insurance claims.
Our certified experts are ready 24/7 to assist you with emergency restoration services.
GET A QUOTE